
With Kinesis Pro, see what your drivers see, receive instant alerts in case of an incident, and remotely download footage in HD.
Table of content
3. Restrict User access to videos
4. Video Icons
Watch the video below or scroll down for step-by-step instructions.
1. Requesting videos
Note: The ‘Videos’ area of the platform will only offer functionality if you have a camera fitted by Radius Telematics.
For customers with dashcams, or more complex multi-cam solutions, Kinesis Pro offers the ability to download and store footage from these cameras within the platform.
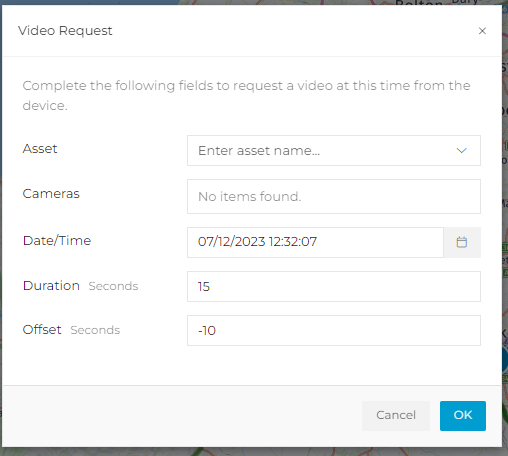
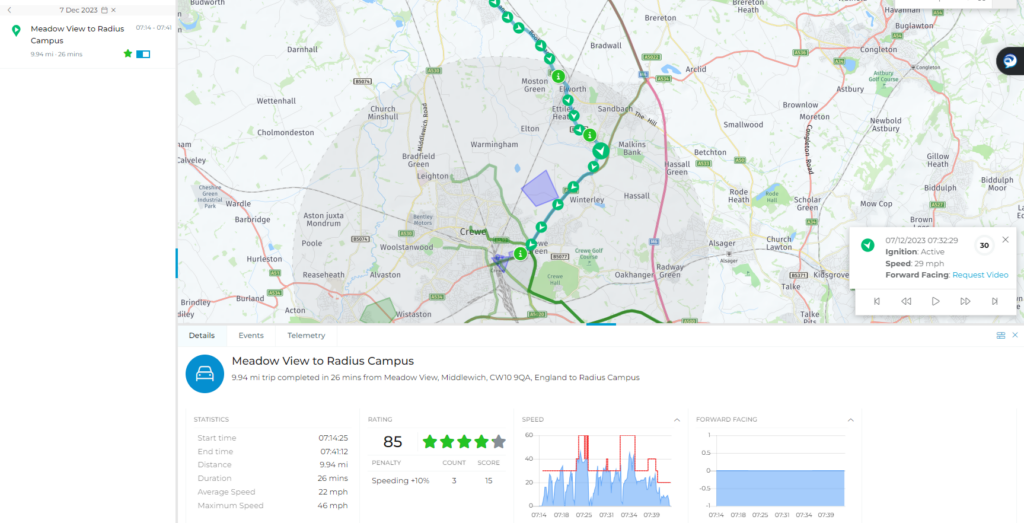
There are two main ways to download footage; it can be requested from the ‘Videos’ area by selecting ‘Request Video’ and specifying an asset/date and time, or you can pick a point from ‘Trip History’ where you would like to see video footage.
2. Viewing Videos
Using the Video Page
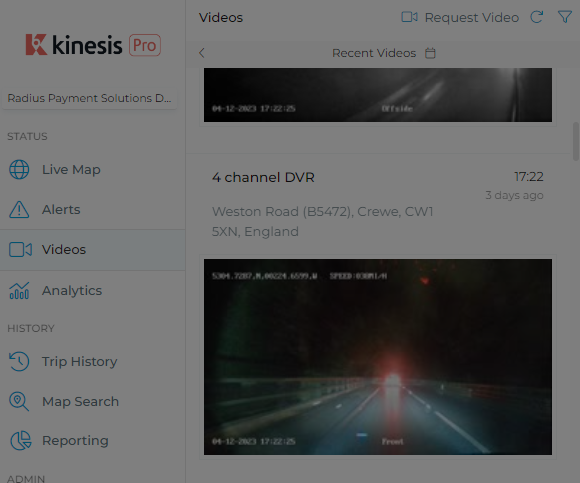
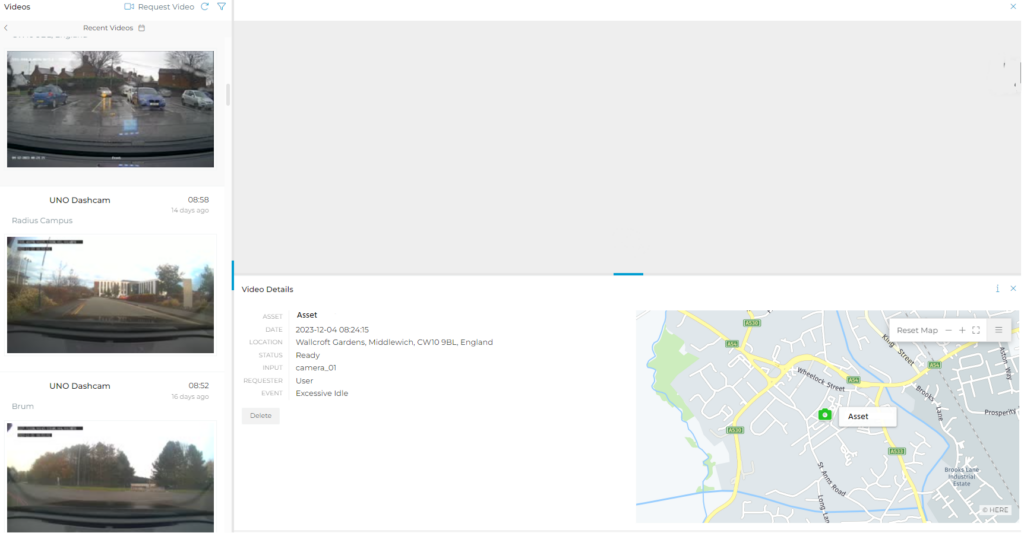
Opening the Video Page shows a list of the Recent Videos and a map of the incidents. The features on the page are described below:
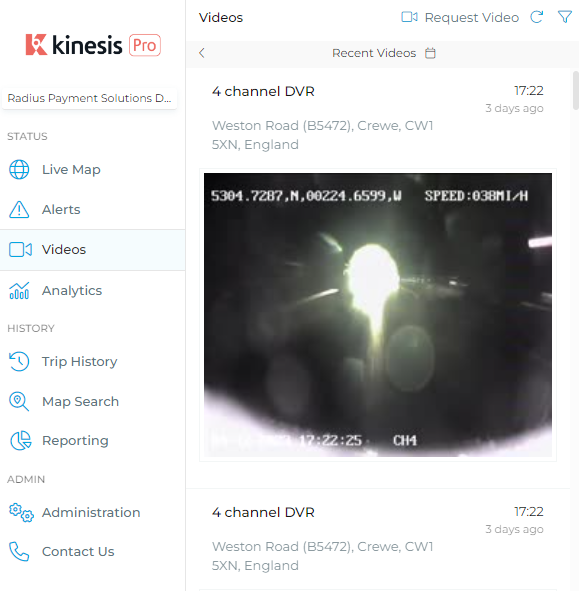
The Videos in the list can be viewed, and the incident is identified on the map.
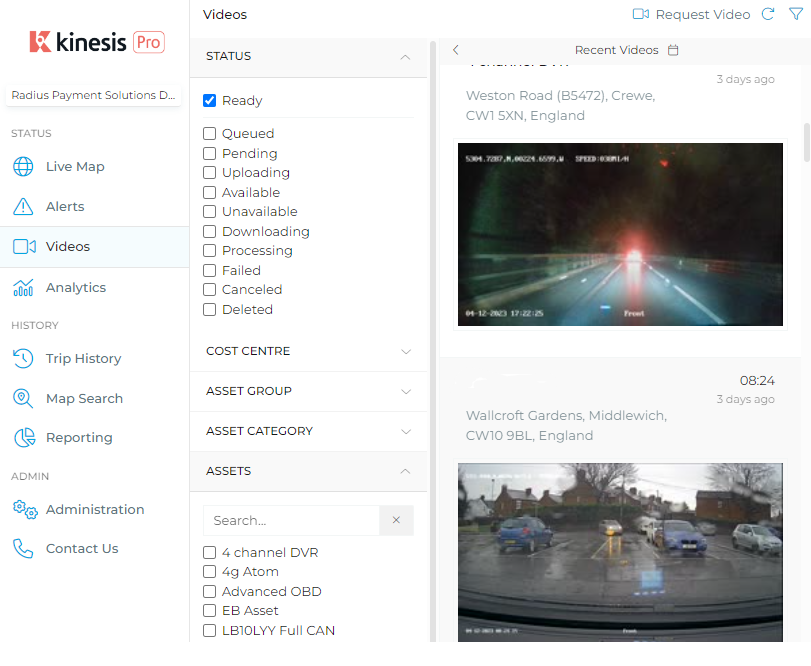
The Filter option opens various options for Users to identify who requested videos, when, and on which Asset.
3. Restrict User access for videos
3.1 Introduction
Although the platform supports video generation from video camera devices, controlling who does what is critical to managing an efficient business.
Requesting multiple videos can generate unnecessary expenses, and restricting certain individuals from viewing videos is good practice from a privacy perspective.
With this in mind, the platform supports multiple options on what Users can and can’t do.
These can be created using User Roles.
You can create as many User Roles as necessary to manage videos.
By default, the platform has a built-in Administrator User Role, which (a) cannot be edited, and (b) allows Users free-reign to do everything on the platform, including request and view videos.
The overview below will be explained in 4 parts, specifically with regards to –
(1) viewing videos only
(2) requesting videos from telemetry data
(3) requesting videos from events
(4) adding video requests to alerts.
3.2 Enabling Request Videos
Before editing the User Role to manage any of the above, if you would like to allow Users to request videos, the first option to add to a User Role is the List Devices Option:

The Request Video button will appear on the platform:

The converse applies – if you do not tick anything under the Devices section for the new User Role, those Users will not be able to request videos. Only Users with Administrator User Roles, as well as Vendor and Distributor level Users will see the Request Video button, (Remove ) and be allowed to request videos.
If you choose to allow Users to request videos, the next step is to choose which section of the platform (telemetry, events or alerts, as explained below) you prefer.
3.2.1 Viewing Videos Only
To view videos, please enable the View option in Media:

Users with only View enabled cannot request videos, and therefore you can disable the options under the Devices section in their User Role, as noted above. These Users will also be able to view and filter videos in the Video tab.
View must also be enabled if you would like Users with the ability to request videos (see below) to also view them.
3.2.2 Requesting Videos from Telemetry Data
To allow Users to request videos from the telemetry data in a trip or on the Overview toggle, enable the Create option in the Media section:

Also, enable View if they should be allowed to View what they request. These Users will not be able to request videos from Events (below).
3.2.3 Requesting Videos from Telemetry Data
To allow Users to request videos from Events only, enable the Update option in the Media section:

Also, enable View if they should be allowed to View what they request. These Users will not be able to request videos from Telemetry (above).
2 & 3. Requesting Videos from Telemetry and Events
To allow Users to request videos from Telemetry and Events and allow them to view these, the Role would look as follows:

3.2.4 Adding Videos to Alerts
This is a separate option from those above and is controlled by the Alerts User Role option. The whole process of creating a video from an alert is explained in this document: How do I request videos for an Alert?
If a User is allowed to create Alerts, they can add video requests to Alerts. If they are only allowed to List Alerts, then they will not be able to add videos to Alerts.

A User given a role that includes Update (above) can request videos from the Event generating the Alert.
3.3 Summary of the User Roles to Control Videos
The table below combines all the User Role options and what they control:
| Section | Option | View Videos | Request Video from Telemetry | Request Video from Events | Add Videos to Alerts | Use the Video Feature Tab |
| Devices | List | N/A | Button appears | Button appears | N/A | N/A |
| Alerts | List | N/A | N/A | N/A | ❌ | N/A |
| Create | N/A | N/A | N/A | ✔️ | N/A | |
| Media | View | ✔️ | ❌ | ❌ | ❌ | ✔️ |
| Create | ❌ | ✔️ | ❌ | N/A | ❌ | |
| Update | ❌ | ❌ | ✔️ | N/A | ❌ |
4. Video Icons
What do the different Video Icons mean?
4.1. Introduction
When a video is requested, a video placeholder appears on the platform, whether on the request box for Telemetry or on an Event:

4.2. Different Icons for Different Devices
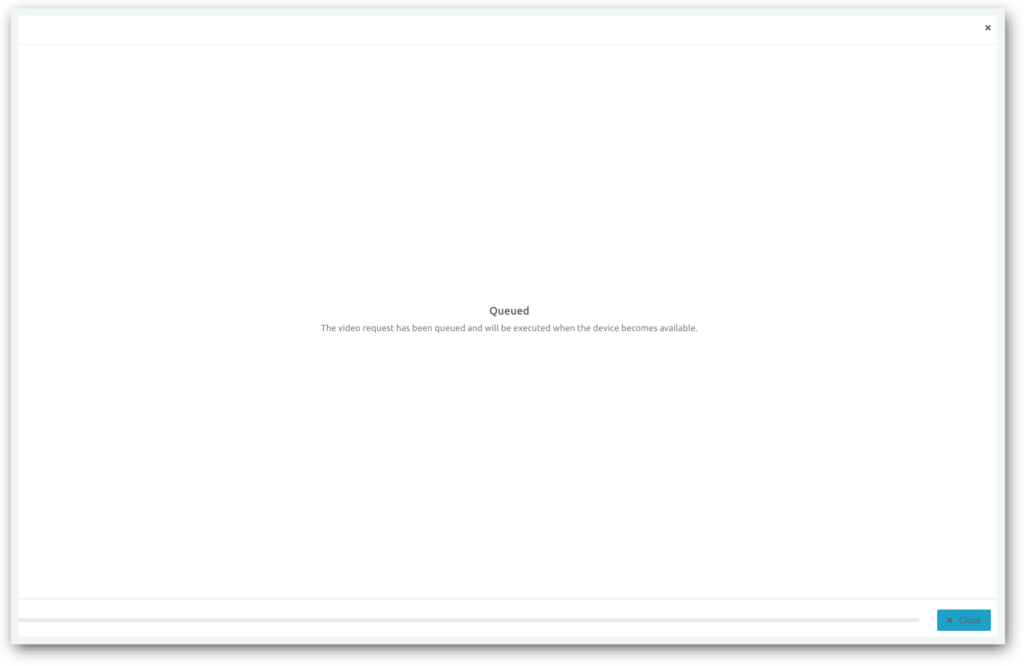
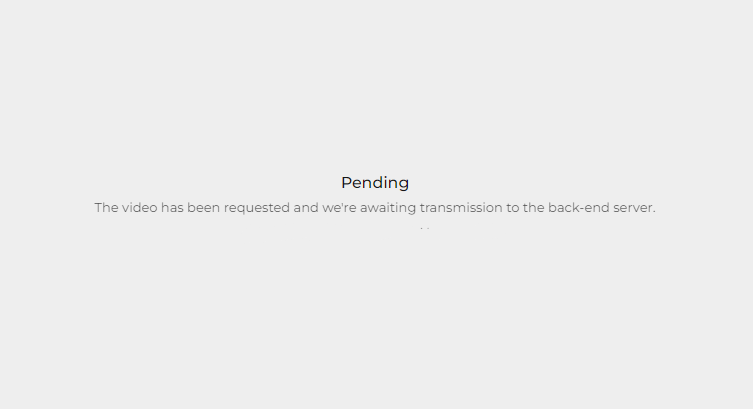
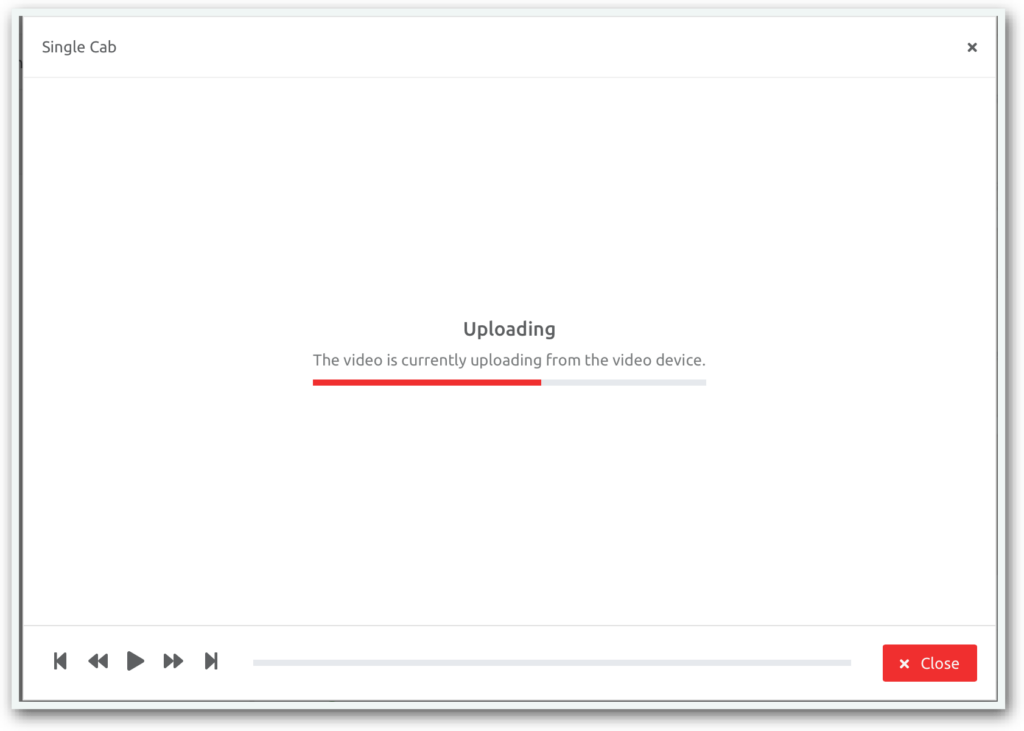
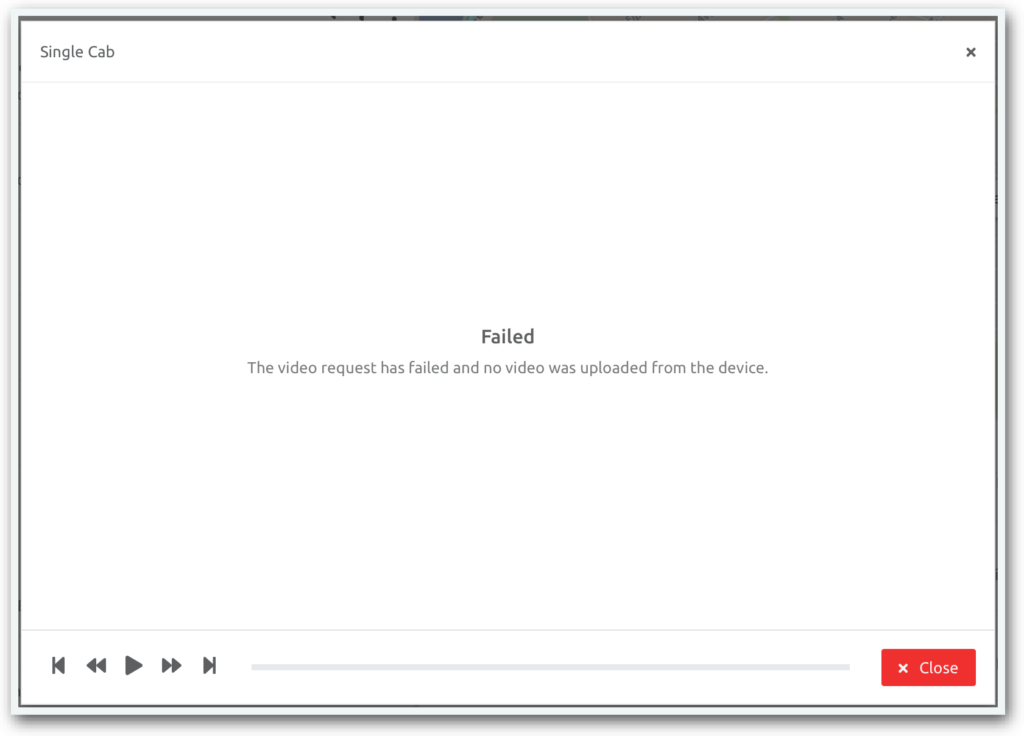
Different devices will let the platform know the different stages of a video upload. Some, like those sending the video over an API, will give particular updates on whether queued, pending, uploading etc. Those connecting directly to the platform will let the user know they are pended, queued and uploaded. This may change over time, as we are always improving the messaging on the UI.
If an upload fails, this will also be displayed.
Keep learning
Need help?
Use our help me choose wizard or contact us on one of the options below.
 United Kingdom - English
 United States - English
 Ireland - English
 Netherlands - Dutch
 France - French
 Germany - German
 Italy - Italian
 Spain - Spanish
 Belgium - Dutch
 Portugal - Portuguese
 Singapore - English
 Malaysia - English
 Australia - English
 New Zealand - English